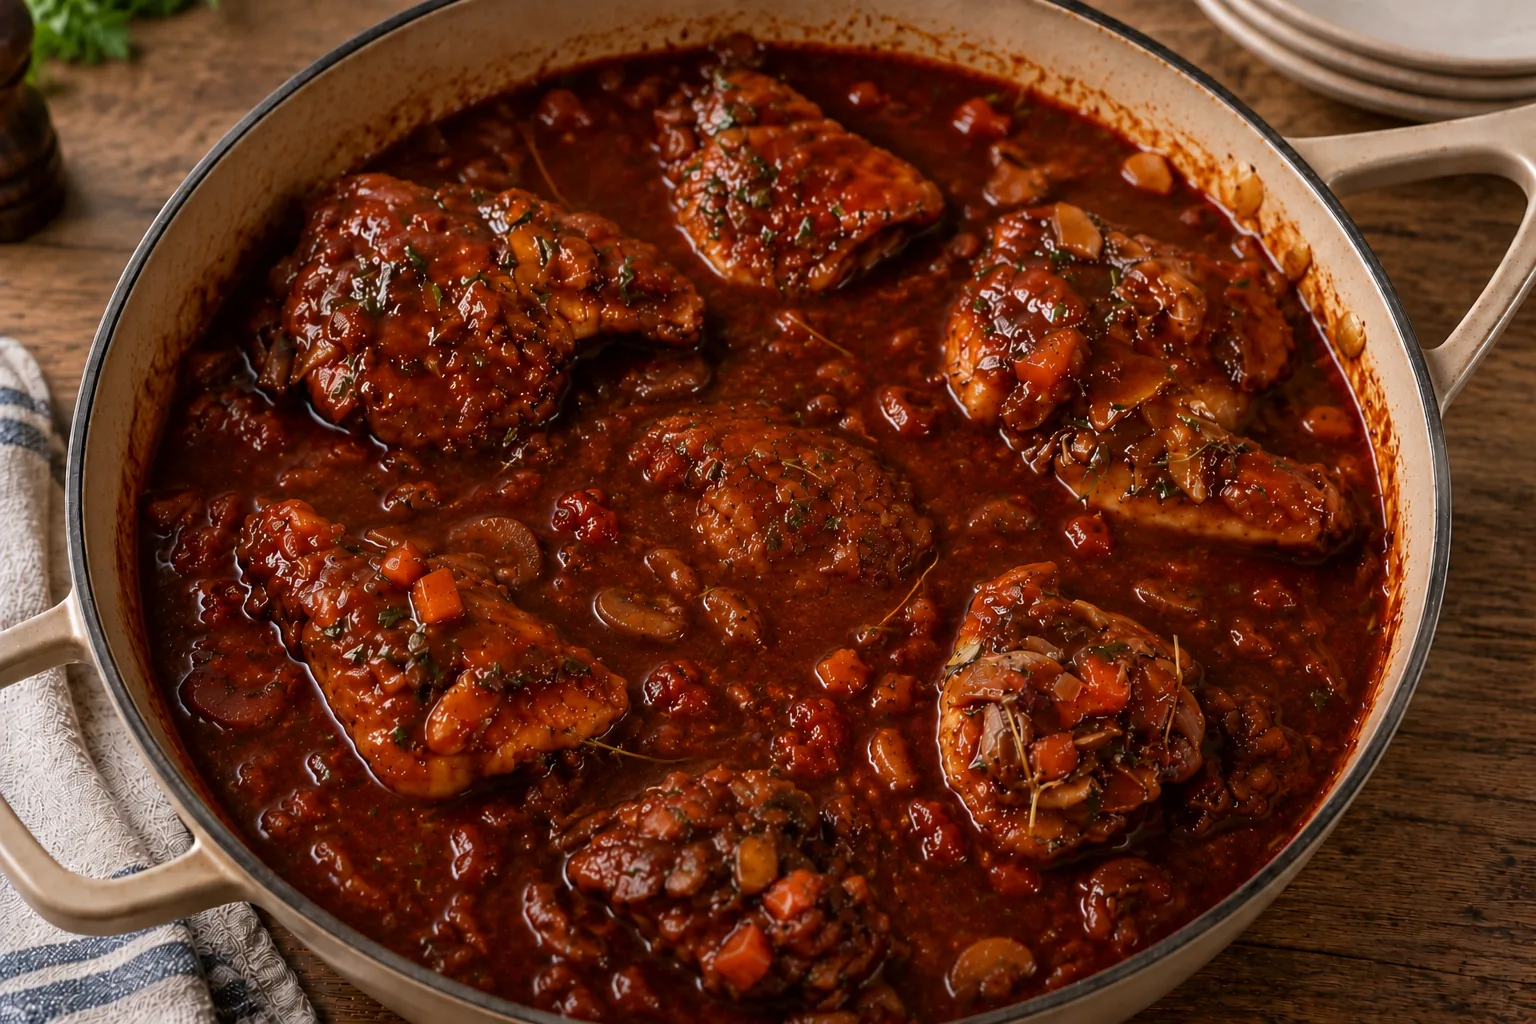
Guō bāo ròu is a classic dish from Northeast China (Dongbei), originating in Harbin, Heilongjiang Province. Sweet and sour is a generic term that encompasses many styles of sauce, cuisine and cooking methods.
It is commonly used in East Asia and Southeast Asia, and has been used in England since the Middle Ages. One of the earliest recordings of sweet and sour comes from a menu of the food served in Tang Dynasty (618-907) festivals written in 708. It included many sweet and sour dishes and recorded that they were invented by Chancellor Wei Juyuan under Emperor Zhongzong of Tang when he hosted the Emperor at his house.
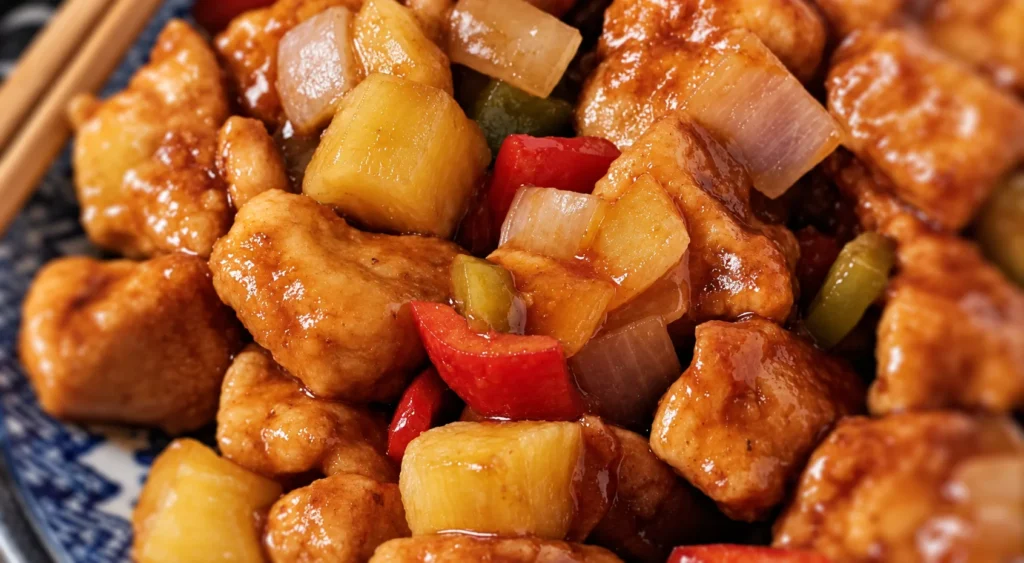

Sweet and Sour Chicken (non-fried)
Ingredients
Sauce
Stir-Fry
Instructions
-
Gather all the individual sauce ingredients into a bowl and whisk together to fully incorporate then set aside.
-
Remove any excess skin from the chicken thighs and dice them keeping them roughly the same size, an even size will ensure even cooking. Place the chicken pieces, the vegetable oil, and salt in a large bowl. Combine fully and marinate in the fridge for 30 to 45 minutes.Keep the chicken refrigerated throughout the marinade, and wash hands, knife and board after preparing the raw meat before moving on to vegetables or garnishes.
-
Add the beaten egg into the bowl with the chicken, stirring to mix well. Add the cornflour and ensure that you fully coat the chicken, until it forms an irregular coating with a little dry cornflour left loosely to form a rustic appearance.
-
Heat the oil in a large frying pan or heavy duty skillet until hot, waiting until it just begins to smoke. Add the chicken all at once and separate into a single layer across the bottom of the pan. If needed you can separate the chicken pieces with a pair of tongs or chopsticks.If the pan cannot hold the chicken in a genuinely uncrowded single layer, cook in batches instead. Crowding drops the temperature and makes the coating steam rather than crisp.
-
Cook the chicken for 2 to 3 minutes without touching it, or until the bottom turns golden brown. Flip each piece of chicken to brown the other side, for a further 2 to 3 minutes. Remove from the heat and transfer the chicken to a large plate and allow to cool for 2 to 3 minutes.Browning alone does not establish that the centre is cooked. Check one of the largest pieces before it leaves the pan; if necessary, continue cooking before transferring it to a clean plate.
-
Place the pan back onto the hob and turn the heat down to medium. You shall likely still have 1 to 2 tablespoons oil already in the pan, add a little more if required. Add the garlic and cook without it burning whilst stirring a few times to release its fragrance.
-
Stir the sauce once again to ensure you fully dissolve the cornflour. Pour it into the pan, stir and gently cook until it thickens, the right consistency when you begin to see trackmarks in the sauce when using a spoon or spatula and add the pineapple.Re-whisk immediately before pouring because cornflour settles quickly. Let the sauce come to a proper simmer so it thickens evenly and loses its raw starch taste.
-
Return the chicken pieces, white onion and chopped pepper to the pan. Finally, stir to coat the chicken with the sauce, 30 to 60 seconds. Transfer to a serving dish and scatter sesame seeds over the top.Return the chicken only to a clean, hot pan and make sure it is piping hot throughout before serving; the final 30 to 60 seconds is for coating and reheating, not for rescuing substantially undercooked chicken.
Nutrition Facts
Servings 2
- Amount Per Serving
- Calories 1027.69kcal
- % Daily Value *
- Total Fat 56.57g88%
- Saturated Fat 8.22g42%
- Cholesterol 81.84mg28%
- Sodium 1184.46mg50%
- Potassium 246.90mg8%
- Total Carbohydrate 70.56g24%
- Dietary Fiber 2.47g10%
- Sugars 14.88g
- Protein 56.06g113%
- Vitamin C 73.33 mg
- Calcium 47.90 mg
- Iron 1.50 mg
- Vitamin D 0.44 IU
* Percent Daily Values are based on a 2,000 calorie diet. Your daily value may be higher or lower depending on your calorie needs.
